Understanding the Importance of Interior Photography
High-quality interior photography plays a crucial role in the real estate market, significantly impacting the attraction and engagement of potential buyers before they even visit the property. When prospective clients browse online listings, the images serve as the first impression, often determining whether they will delve deeper into the property or move on to another listing. Flawless interior photos that effectively showcase a space’s size, layout, and ambiance can boost interest, leading to increased showings and faster sales.
In the digital age, most property searches begin on the internet, making visual content paramount. Listings with professionally captured interior images tend to receive more clicks and inquiries, establishing a competitive edge over listings with subpar visuals. Accurate and well-composed photographs can highlight a property's unique features, from architectural details to modern finishes, translating to perceived added value.
Moreover, high-quality interior images enhance marketing efforts across platforms, including real estate websites, social media, and other digital channels. They help build trust with potential buyers by presenting the property transparently and attractively, ultimately fostering a sense of confidence in the offering.
Preparing the Space for Photography
Meticulous preparation of a property’s interior is crucial for capturing its most compelling visuals. Starting with a thorough cleaning process ensures surfaces are spotless, and clutter is removed to prevent distractions that could divert attention from the key features of each room. Wipe down windows and mirrors to eliminate smudges that can interfere with light reflection and clarity. Fluff and arrange pillows, towels, and decorative items to create a polished appearance. Small details such as replacing burnt-out light bulbs and ensuring all fixtures are functional can significantly enhance image quality and realism.
Staging the space involves arranging furnishings in a way that highlights the room’s purpose while creating an inviting atmosphere. Remove excess furniture that might make a room appear crowded or diminutive. Use neutral tones and minimalist decor to appeal to a broad audience, but consider incorporating subtle pops of color to add warmth and vibrancy. Properly placement of key furniture pieces can help showcase the flow of space and functionality.
Natural light is an essential element in interior photography. Open curtains, blinds, and doors to maximize sunlight penetration. If natural light is limited or inconsistent, artificial lighting can be used strategically to brighten the space without causing harsh shadows or overexposure. Check for any reflections or glares that might hinder the clarity of the shot, and adjust accordingly.
Additionally, consider the overall tidiness of the exterior, pathways, and immediate surroundings, as these elements are often included in comprehensive listing photos. Ensuring that outdoor areas are clean and well-maintained complements the interior shot and provides a complete picture of the property’s appeal.
Choosing the Right Equipment and Settings
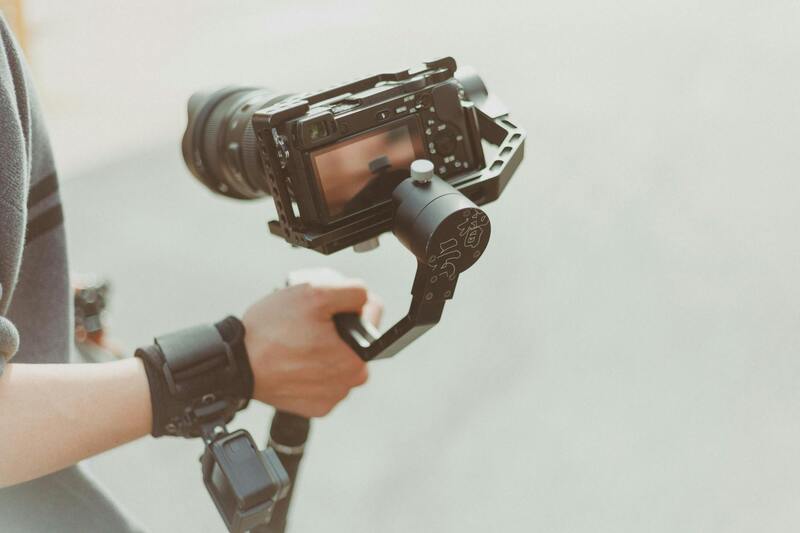
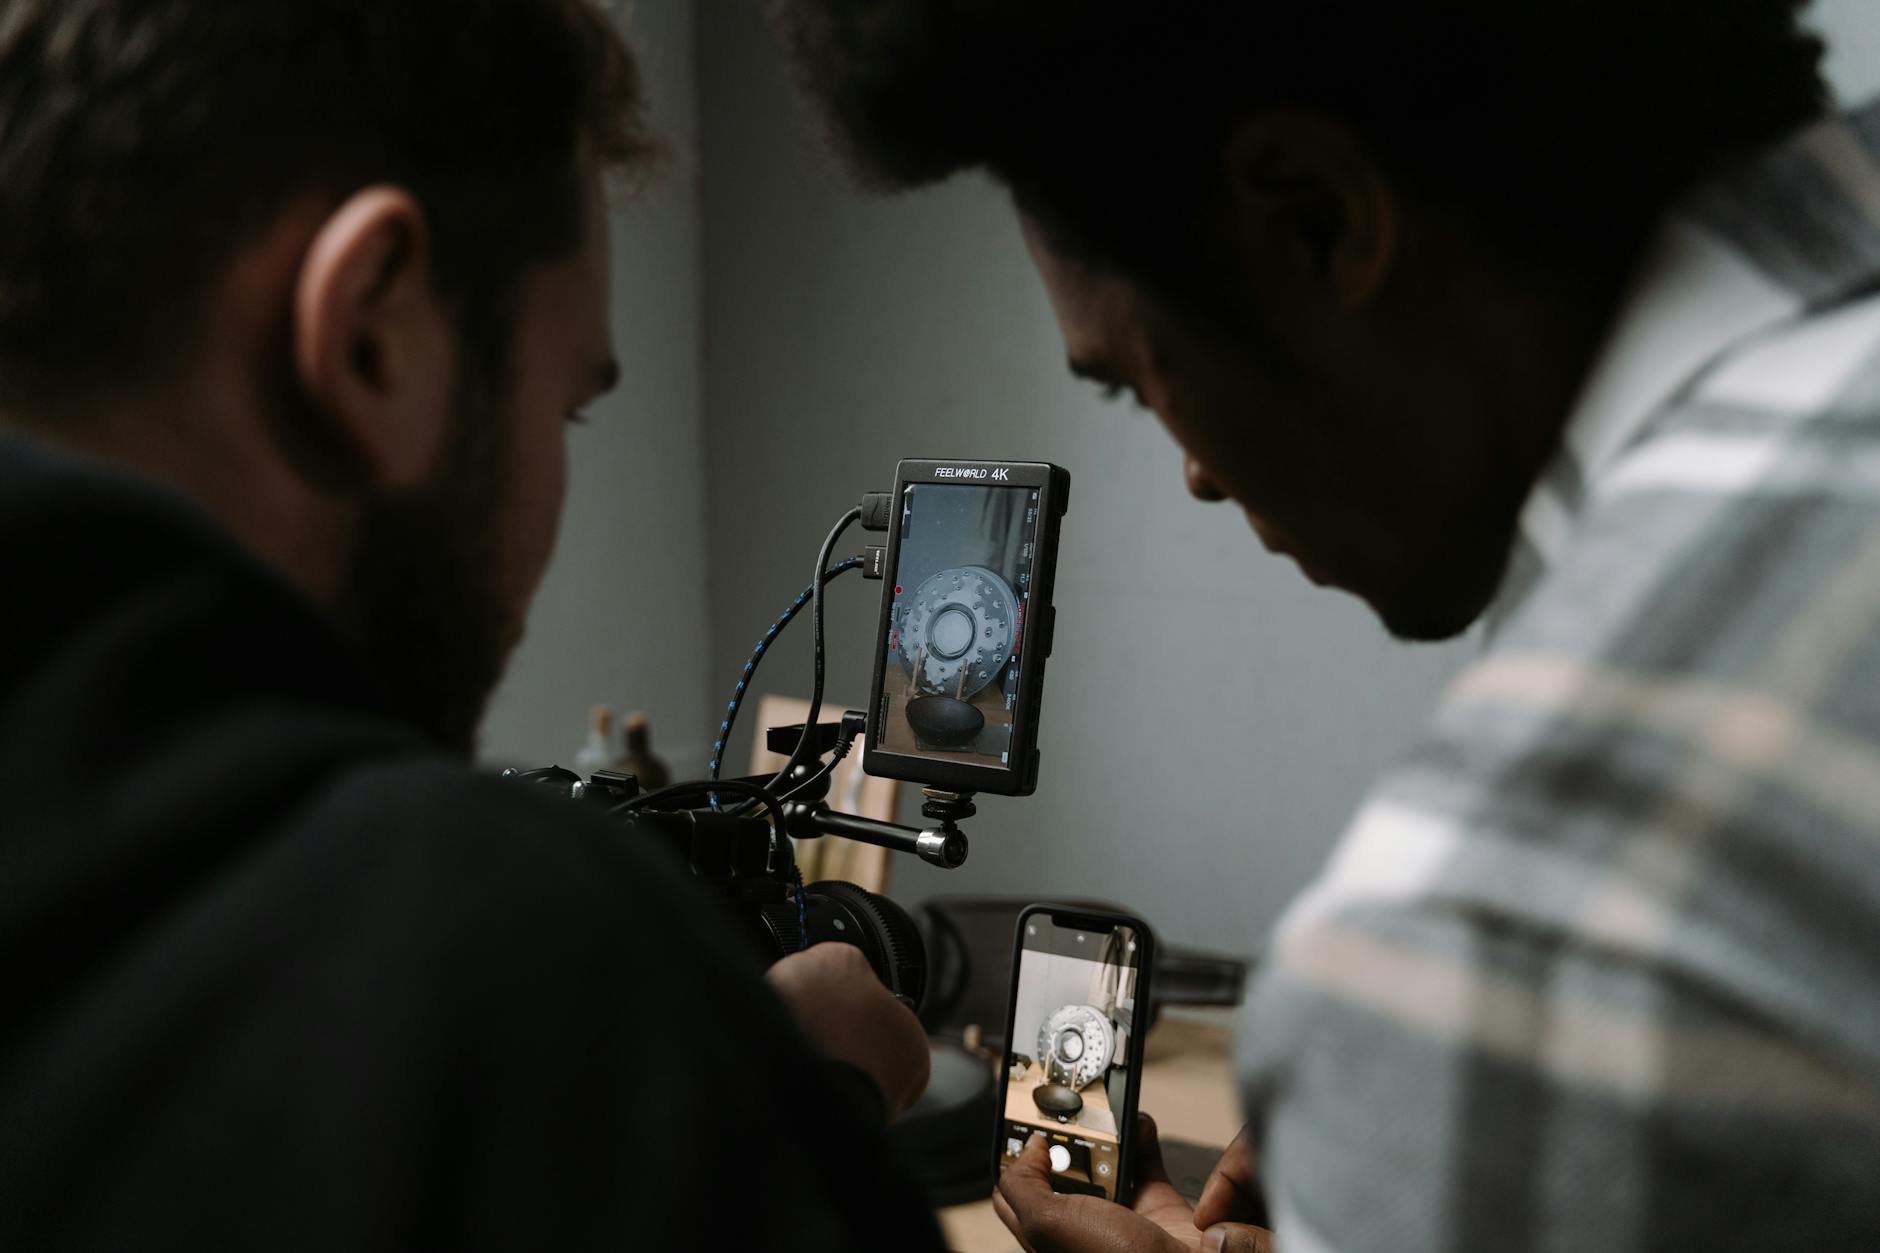
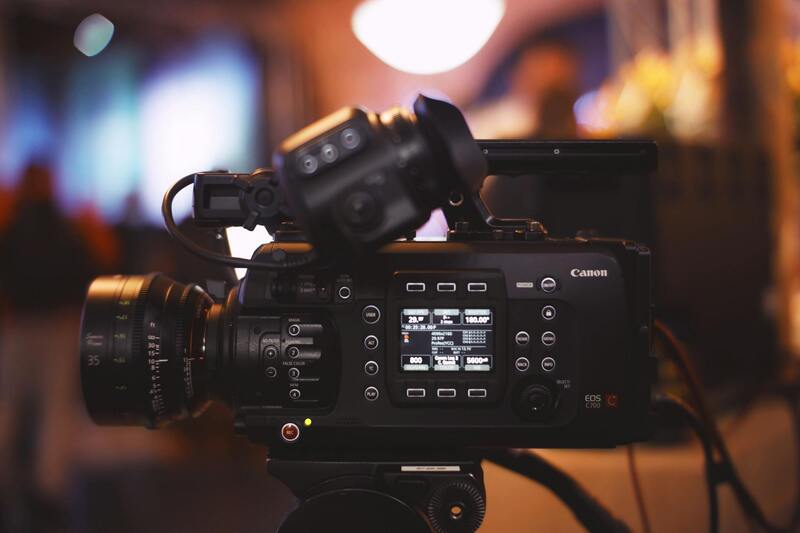
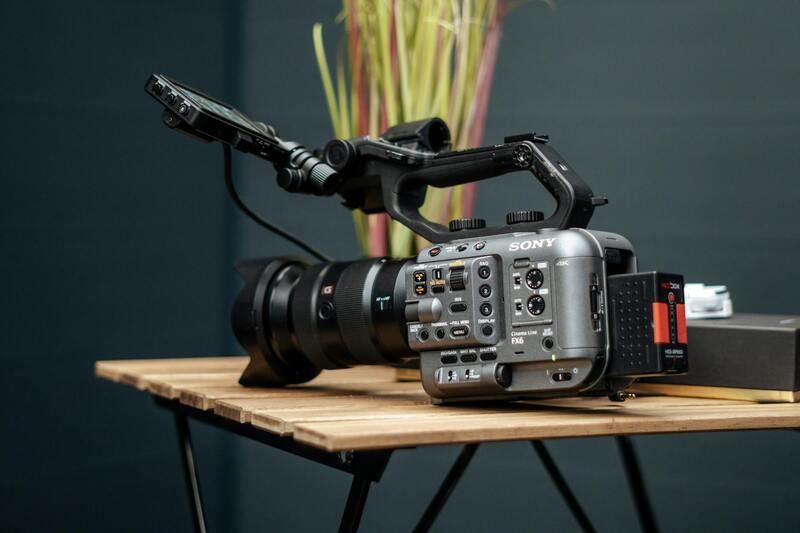
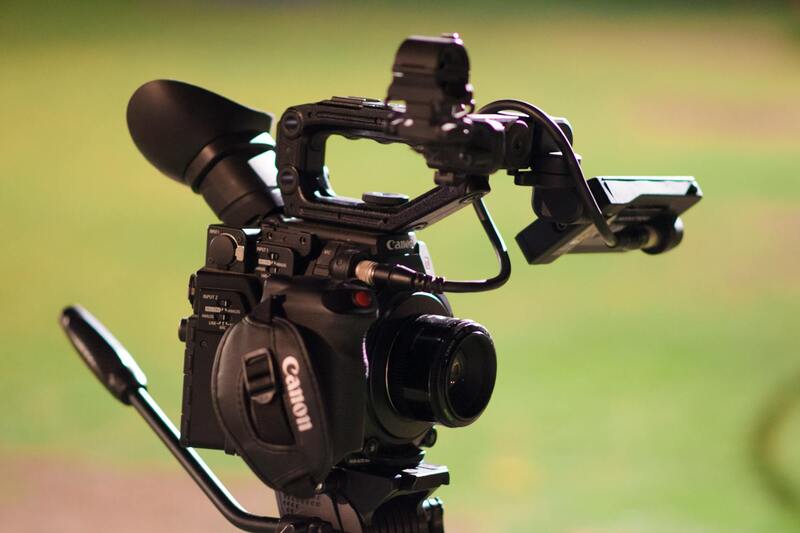
Optimal equipment selection is foundational for interior photography. A professional-grade DSLR or mirrorless camera equipped with a wide-angle lens (preferably between 14mm and 24mm) enables capturing expansive spaces with clarity. A sturdy tripod is indispensable for achieving sharp images, especially in low light conditions, and helps maintain consistency across shots.
The camera settings should be optimized to balance exposure, color accuracy, and depth of field. Use a small aperture (f/8 to f/11) to ensure everything from foreground to background remains in sharp focus. Adjust ISO settings to the lowest possible value to prevent noise, particularly in darker areas. Shutter speed should be set based on the available light, but typically slower speeds are necessary for well-lit interiors, especially when utilizing artificial lighting. Bracketing techniques can also be employed for high dynamic range (HDR) images, combining multiple shots to capture details in both shadows and highlights.
Wireless remote triggers or controlled camera apps provide additional stability and flexibility during the shoot, reducing the risk of vibrations that could compromise image sharpness. Consistent use of these tools enhances the overall professionalism of the visual content.
Techniques for Capturing Bright and Accurate Images
Achieving well-lit and faithful interior photographs requires a combination of proper lighting and camera techniques. Natural light plays a vital role in making interior spaces appear inviting and spacious. To maximize the use of natural light, schedule shoots during daylight hours with ample sunlight and open curtains or blinds, ensuring the space is evenly illuminated. When natural light is insufficient or uneven, supplemental artificial lighting becomes essential. Use flash lighting carefully, avoiding direct bursts that could cause harsh shadows or unflattering highlights; instead, opt for diffused lighting or bounce flash techniques to produce soft, even illumination.
Controlling exposure is critical for capturing accurate colors and details. Bracketing multiple images at different exposures allows for high dynamic range (HDR) processing, which reveals details in both shadows and highlights. Adjust camera settings accordingly, keeping ISO as low as possible to prevent noise, particularly in darker corners of a room. Utilizing a tripod not only stabilizes the camera during longer exposures but also maintains consistency across shots, enabling seamless blending during post-processing. In tricky lighting scenarios, consider using manual mode to set aperture, shutter speed, and ISO precisely, providing control over the final image's brightness and clarity.
White balance adjustments should be made to match the lighting conditions in the space. A preset that aligns with incandescent, fluorescent, or daylight settings ensures color accuracy. When editing, fine-tune color temperature and brightness to replicate the real-world appearance of the interiors, creating compelling visuals that accurately represent the space's ambiance.
Composition and Framing Tips
Effective interior composition centers on showcasing space, function, and flow. Use wide-angle lenses to capture expansive views, but avoid distortion by keeping the camera level and parallel to the main subject or wall. Incorporate elements like furniture or architectural features to add depth and perspective, guiding the viewer's eye through the room.
- Line guides: Use natural lines such as door frames, flooring patterns, or furniture edges to lead the viewer’s gaze into the scene.
- Vertical alignment: Keep vertical lines straight to prevent skewed images, which can result from wide-angle lenses if not carefully managed.
- Focal points: Highlight key features like fireplaces, windows, or unique architectural details to create focal points that draw interest.
- Room balance: Balance elements within the frame to prevent clutter and emphasize positive space, making rooms appear larger and more inviting.
Post-Processing and Editing for Interior Photos
Post-processing enhances interior images, ensuring they accurately and attractively represent the space. Start with adjusting exposure, contrast, and color temperature to correct any discrepancies caused during shooting. Use editing software to straighten crooked vertical lines, which is crucial for maintaining a professional appearance. Noise reduction may be applied selectively, especially in darker regions, without sacrificing detail. Enhancing clarity and sharpness subtly emphasizes textures and architectural features.
HDR composite images can be created from bracketed shots to provide a balanced view of varying lighting conditions within the room. This technique highlights details in shadows and highlights simultaneously, resulting in images that are both vivid and true to life. When editing, aim for natural-looking results; overly saturated colors or exaggerated contrast diminish the credibility of the images and can mislead potential viewers.
Final Touches and Consistency
Consistency across all photos is essential for a cohesive presentation. Use preset filters or batch processing to unify color tones and lighting adjustments across a series of images. Pay attention to details like removing unwanted reflections or distractions that might divert attention from the property's features. The goal is to produce polished, professional photographs that accurately showcase the interior without exaggeration.
Techniques for Capturing Bright and Accurate Images
Achieving well-lit, vibrant interior photographs requires a deliberate approach to lighting management. Leveraging natural light is often the first step; utilizing windows and open doors during the day can provide soft, evenly distributed illumination that enhances the authenticity of the space. To maximize natural light, shooting during the optimal time—such as early morning or late afternoon—can introduce warm, inviting tones while avoiding harsh shadows.
In scenarios where natural light alone does not suffice, carefully positioned artificial lighting becomes essential. Employing adjustable LED panels or flash units allows for precise control over light placement and intensity. Diffusing artificial light prevents hotspots and harsh shadows, contributing to a balanced, natural appearance. The goal is to fill the room with enough light to reveal textures and colors accurately without causing overexposure or unnatural color casts.
When combining lighting sources, balance is key. Use light meters or on-camera histograms to assess exposure levels across different areas of the room, ensuring none are underexposed or overexposed. This careful measurement guides adjustments in exposure settings to produce images that reflect the true character of the space.
Another crucial aspect involves controlling reflections and glare—especially in rooms with large windows, glossy surfaces, or glass fixtures. Using polarizing filters or adjusting angles can minimize unwanted reflections, providing clearer views of architectural details and decor. These methods contribute to images that accurately showcase the interior’s design intent and spatial qualities.
Proper Camera Settings for Interior Photography
- ISO: Use the lowest ISO setting possible to reduce graininess and maintain image clarity.
- Aperture: Select a narrow aperture (higher f-number) to ensure greater depth of field, keeping entire rooms sharply in focus.
- Shutter Speed: Adjust shutter speed to accommodate lighting conditions; often, a tripod is necessary to prevent motion blur during longer exposures.
- White Balance: Set to match the predominant light source (natural or artificial) to preserve true-to-life color tones.
By systematically applying these techniques, photographers can capture interior images that are not only visually appealing but also convey an accurate depiction of the property’s features and ambiance.
Techniques for Capturing Bright and Accurate Images
Achieving well-exposed and true-to-life interior photographs hinges on the application of sophisticated techniques and careful control of camera settings. Properly managed lighting, methodical camera adjustments, and strategic composition collectively ensure that images accurately represent the space's character and layout. These approaches are fundamental for real estate professionals and photographers committed to producing high-quality visuals that resonate with viewers.
Optimizing Camera Settings for Interior Photography
- ISO Settings: Select the lowest ISO setting compatible with existing lighting conditions. This minimizes digital noise, resulting in cleaner and sharper images. Since interior environments often feature varying light intensities, keeping ISO low is crucial for clarity.
- Aperture Choices: Use a narrow aperture—typically between f/8 and f/11—to increase the depth of field. This ensures that both foreground and background details remain sharply focused, capturing the full scope of the interior space.
- Shutter Speed: Adjust shutter speed based on ambient light and the presence of tripod support. Longer exposures may be necessary in low-light conditions, but a sturdy tripod is essential to prevent motion blur during these exposures.
- White Balance: Customize white balance settings to match the dominant light source—whether natural daylight or artificial lighting—to preserve authentic colors and prevent unnatural color casts from skewing the image.
Using Additional Techniques for Enhanced Image Quality
Beyond camera settings, other techniques enhance the accuracy and appeal of interior photographs.
- Light Metering: Employ light meters or histograms to monitor exposure levels across different areas. This helps in balancing light to prevent overexposed windows or underexposed corners.
- Controlling Reflections and Glare: Utilize polarizing filters or adjust shooting angles to minimize reflections on glossy surfaces and glass fixtures. This preserves transparency and clarity in critical architectural elements.
- Natural and Artificial Lighting Balance: Merge natural daylight with artificial light sources by controlling curtain openness, using supplemental lighting, and adjusting color temperatures to create a harmonious ambiance.
Monitoring and Adjusting During the Shoot
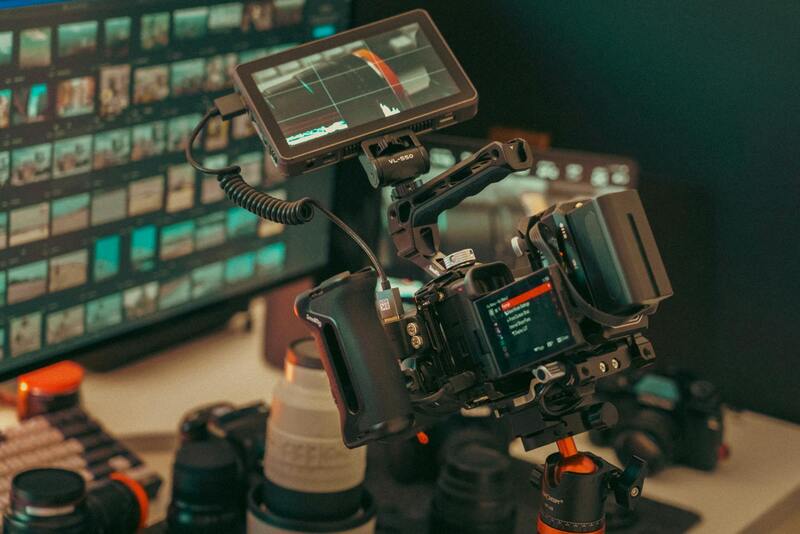
Continual assessment of the scene during the shoot is vital. Make incremental adjustments to exposure and white balance based on real-time feedback. Reviewing images on a calibrated screen ensures that lighting and color fidelity meet high standards before finalizing the shoot.
Techniques for Capturing Bright and Accurate Images
Achieving high-quality interior photographs begins with meticulous control over lighting and camera settings. Natural light plays a crucial role in rendering authentic colors and creating a warm, inviting atmosphere. Photographers should optimize shoot times during daylight hours when sunlight filters evenly through windows, avoiding harsh midday glare or long shadows that can obscure detail.
Artificial lighting can supplement natural light, especially in spaces with limited window access or uneven illumination. Employing softboxes, diffusers, and consistent color temperature lighting helps produce uniform brightness. When combining natural and artificial light sources, adjusting the white balance of the camera ensures that color representation remains natural and consistent across images.
The selection of camera settings is vital. Using a low ISO minimizes grain and maintains image clarity, while a narrow aperture (higher f-stop number) increases depth of field, keeping all elements in focus. Adjusting shutter speed to suit the lighting conditions prevents overexposure or underexposure. It’s also essential to shoot in RAW format to facilitate detailed post-processing without sacrificing image quality.

Monitoring exposure levels with a light meter or histograms during the shoot enables precise control over brightness. This ensures that highlights and shadows remain balanced, preventing overexposed windows or dark corners. Using polarizing filters can help reduce reflections on glossy surfaces and glass fixtures, preserving transparency and detail.
In addition to technical camera adjustments, it's important to review images on a calibrated screen regularly. Immediate feedback allows photographers to make real-time tweaks, such as adjusting white balance or exposure, to produce images that accurately represent the space. This continuous assessment minimizes post-shoot editing needs and ensures high accuracy in final images.
When executed correctly, these techniques help highlight the architectural features of a property, evoke a sense of space, and attract potential buyers through compelling visuals. Precision and attention to detail during capturing are foundational to producing interior photography that resonates with viewers and effectively showcases a property's unique qualities.
Legal and Ethical Considerations in Interior Photography
When engaging in the process of photographing real estate interiors, it is essential to adhere to established practices that respect privacy, secure necessary permissions, and ensure truthful representation of the property. Proper management of these aspects not only fosters trust with clients but also reinforces the professionalism of the photographer.
Obtaining explicit consent from property owners or tenants prior to conducting any shoot is a fundamental step. This involves clear communication regarding the scope of the photography, how the images will be used, and any privacy considerations. In cases where confidential areas or sensitive information are present, photographers should be diligent in respecting restrictions and seeking additional permissions if required.
Respecting privacy extends beyond consent. During the shoot, care should be taken to avoid capturing personal belongings, security systems, or restricted areas that could compromise privacy or security. Additionally, photographers must be cautious with reflections and windows to prevent capturing unintended private spaces outside the property.
Authenticity in presentation is vital. This entails showcasing the property in a manner that accurately reflects its current condition and features without misleading potential buyers. Post-processing should enhance the image's clarity and appeal but not distort the true appearance of the space. Misrepresenting a property's features can lead to mismatched expectations and damage credibility.
Furthermore, understanding and complying with local regulations related to property disclosures and photography practices can prevent potential disputes. Maintaining clear records of permissions and agreements contributes to a transparent and ethical workflow, protecting all parties involved.
By integrating these practices into your workflow, you ensure that your interior photography not only captures appealing visuals but also aligns with ethical standards that uphold the integrity of the real estate process.
Legal and Ethical Considerations in Photographing Real Estate Interiors
Capturing interior spaces for real estate presentations inherently involves navigating a series of formal procedures designed to protect the interests of all parties involved. Ensuring that all necessary permissions are secured before the photoshoot maintains a respectful approach to property rights and personal privacy. Clear communication with property owners or managers about the scope of the photography session, including specific areas to be photographed and intended usage, fosters transparency and mutual understanding.
During the shoot, it is crucial to be vigilant about what is being captured. Personal belongings, confidential areas, and security systems should be treated with particular care to avoid any unintentional exposure. Special attention should be paid to reflections and windows—protecting tenants’ privacy and ensuring that no private spaces outside the property are inadvertently included in images. This respect for privacy not only sustains professional integrity but also aligns with the high standards expected in the industry.

Authentic representation of the property is also a key aspect of ethical practices. Photos should accurately depict the space’s current condition, avoiding over-enhancement or misleading angles that could give potential buyers an unrealistic impression. It’s important that editing techniques enhance clarity and visual appeal without distorting the true appearance of the interior. A commitment to honesty in visual presentation preserves trustworthiness and credibility in the real estate market.
Record-Keeping and Documentation
Meticulous documentation of permissions, consent forms, and project agreements provides clarity and safeguards against potential disputes. This organized record system demonstrates a professional approach and offers reassurance to clients that their privacy and property are being handled responsibly. Such transparency fosters long-term relationships built on trust and respect, which are foundational to a successful real estate photography venture.
Understanding Regional Regulations
Familiarity with regional guidelines and property disclosure laws related to photography is vital. Different jurisdictions may have specific requirements about documenting or publicizing interior photos, especially when it concerns rental or commercial spaces. Adhering to these standards prevents misunderstandings and ensures that marketing efforts are compliant with local norms and expectations.

Building a Professional Ethos
Adopting a disciplined approach to permissions, privacy, and truthful representation maximizes the integrity of your work. It signals a commitment to ethical standards that elevate your reputation as a trusted real estate photographer. Consistent practices aligned with industry best standards help cultivate a sustainable career rooted in professionalism, respect, and the pursuit of excellence in capturing real estate interiors.