Understanding Time Lapse Recording
Time lapse recording is a specialized filming technique that captures a sequence of images at set intervals over an extended period. When these images are played back at normal speed, the result is a dramatically sped-up view of changing scenes or processes that typically unfold slowly or over hours, days, or even years. Unlike traditional videography, which records motion in real-time, time lapse recording compresses time, revealing dynamic changes that are often imperceptible to the human eye during natural observation.
The fundamental principle of time lapse recording involves controlling the interval between shots and the total duration of the capture. By setting the camera to take photos at predetermined intervals—such as every second, minute, or even longer—the filmmaker can decide how accelerated the final footage will appear. This enables the visualization of phenomena like sunset progression, construction projects, blooming flowers, or traffic flow with exceptional clarity and impact.
One of the key differences between time lapse recording and regular videography lies in the method and purpose. Regular video captures continuous motion, providing detailed, real-time views suitable for storytelling or documentation. Time lapse, on the other hand, emphasizes change over time, often used for scientific analysis, artistic expression, or commercial presentations. It transforms long-term events into concise visual narratives, allowing audiences to observe rapid changes and growth processes that would otherwise take days or weeks to witness firsthand.
Additionally, time lapse recording requires precise planning and technical adjustments. It involves setting appropriate intervals, selecting stable equipment, and controlling environmental variables to ensure consistent image quality. The resulting footage, when properly processed, can offer compelling visual insights into processes like weather patterns, urban development, or natural phenomena, making it a valuable tool in numerous professional fields.
Equipment Needed for Time Lapse Recording
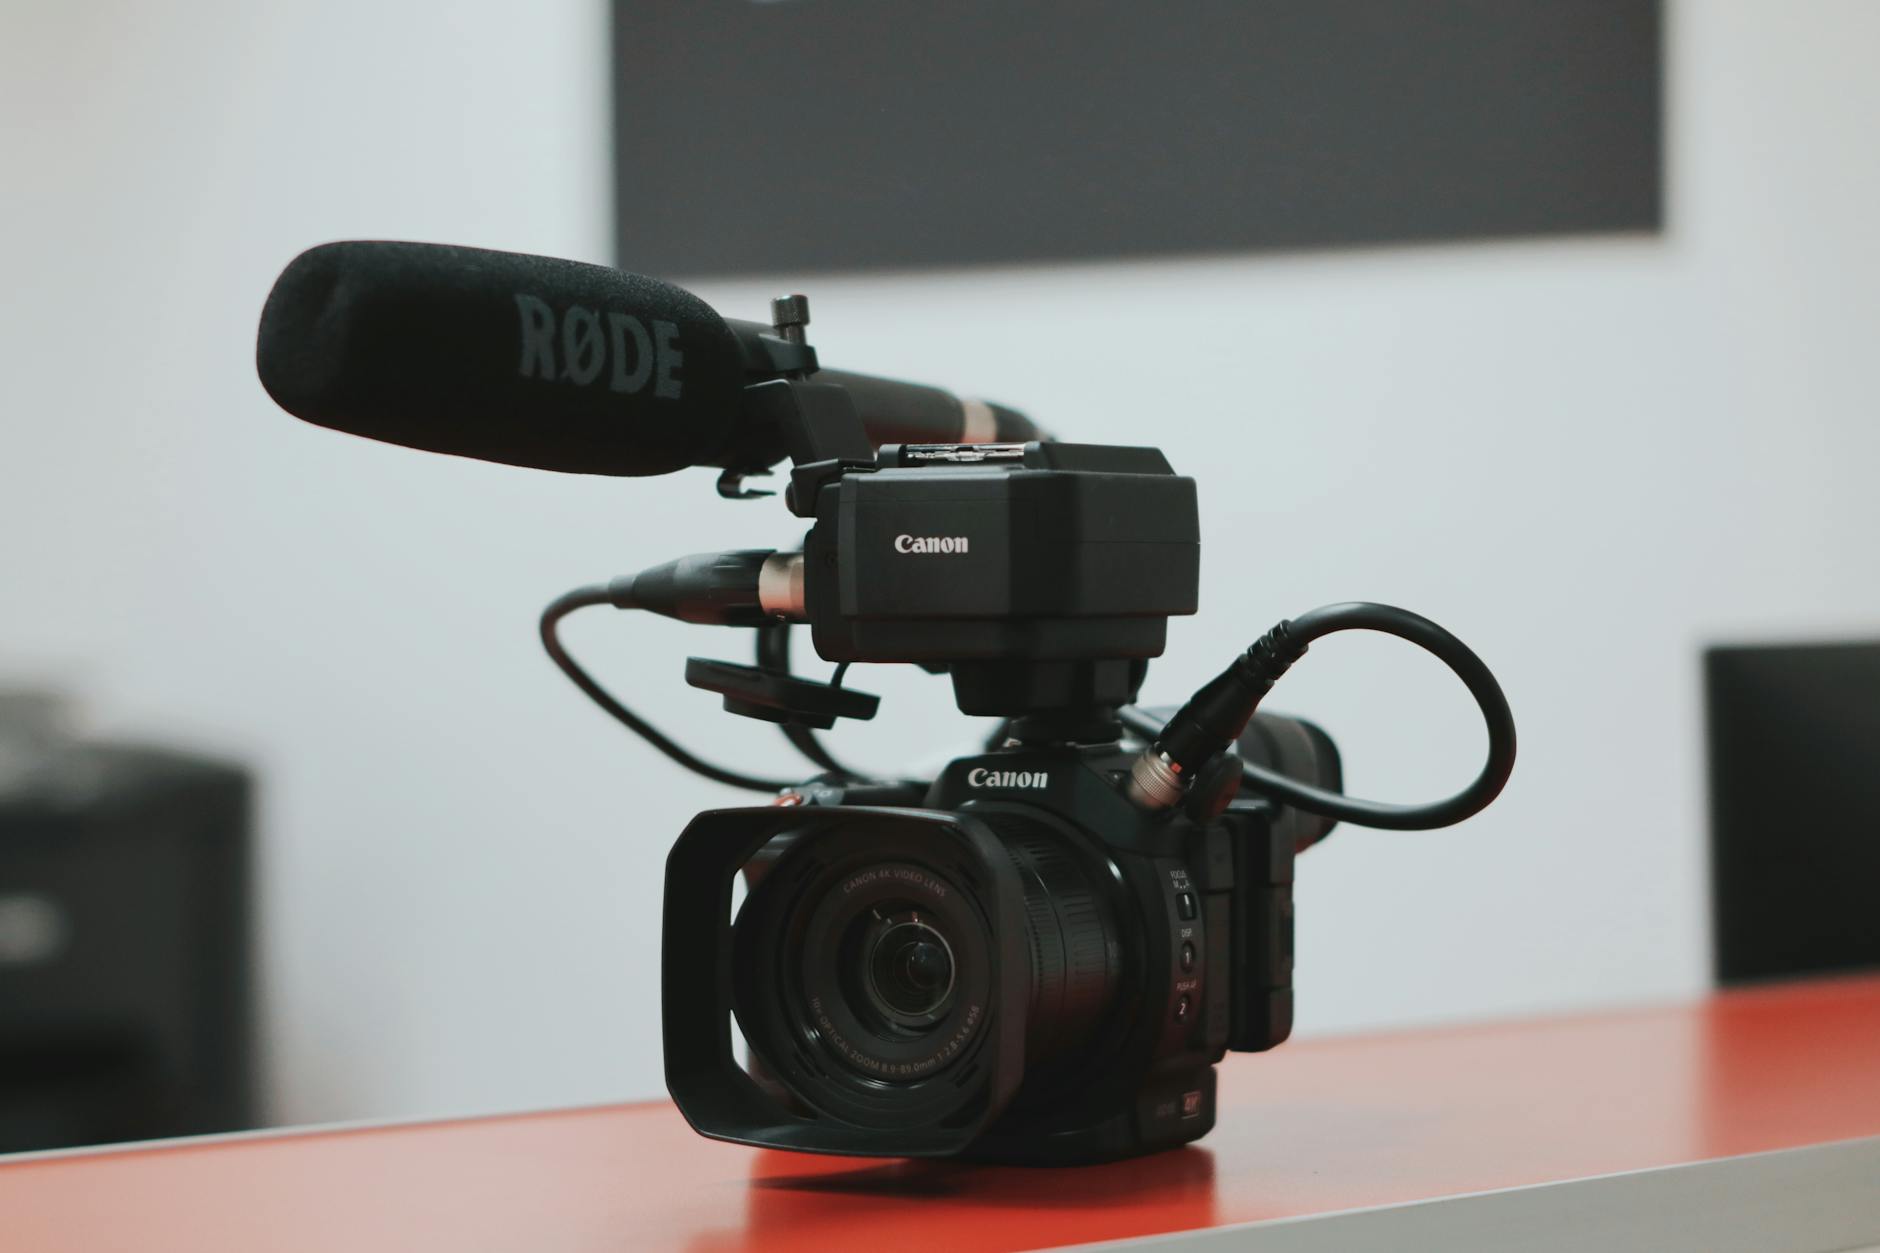
To produce high-quality time lapse recordings, selecting the appropriate equipment is essential. The foundation of successful time lapse projects lies in the right combination of gear that ensures stability, precision, and clarity throughout long shooting durations. Key items include a reliable camera capable of manual settings, an intervalometer or an in-camera interval timer, a sturdy tripod, and possibly additional accessories such as filters and external power sources.
Most modern digital cameras, whether DSLRs or mirrorless models, support manual control over exposure, focus, and shutter speed, which are critical for maintaining consistency across the sequence of shots. When choosing a camera specifically for time lapse, consider models that can operate continuously over extended periods and have customizable interval settings.
An intervalometer is a vital tool that automates the capturing process by triggering the camera at specified intervals, allowing for uninterrupted shooting over hours or days. Many cameras now incorporate built-in interval shooting modes, reducing the need for external devices, but an external intervalometer often provides more precise control and flexibility.
Setting Up for a Time Lapse Shoot
Preparation begins with selecting a location and framing your shot to encapsulate the scene's evolving elements. Secure your camera on a stable surface or tripod, ensuring it remains immobile. Next, configure your camera in manual mode, setting consistent exposure, focus, and white balance to prevent flickering or shifts in image quality. Adjust shutter speed, ISO, and aperture based on environmental lighting—shooting in bright daylight may require narrower apertures and lower ISO, while low-light conditions may need longer exposure times or additional lighting sources.
Choosing the appropriate interval between shots depends on the speed of change in your scene. Faster intervals (1-3 seconds) are suitable for rapid movements such as traffic or bustling crowds, whereas longer intervals (several minutes) are better for gradual transformations like sunrise or plant growth. The total project duration and the desired playback speed influence your interval decision. Remember to plan your storage and power requirements, considering external power sources or extra batteries to maintain continuous operation over lengthy sessions.
Techniques for Capturing High-Quality Time Lapse Footage
Capturing compelling time lapse footage requires attention to detail and consistency. Firstly, stabilize your camera firmly to eliminate unwanted movements that can spoil the sequence. Use manual focus to avoid focus shifts, which tend to occur with autofocus systems when the scene changes over time. Lock in your exposure settings—manual mode is preferable—ensuring consistent brightness across all images. Depending on the scene’s lighting variations, you might need to adjust these settings or use additions like ND filters to manage exposure in bright conditions.
The choice of interval is crucial; shorter intervals increase the number of frames, resulting in a smoother playback, but demand more storage and longer recording times. Conversely, longer intervals may emphasize slower changes without overloading storage capacity. When shooting for a specific final frame rate—commonly 24 or 30 fps—calculate the total number of images needed to match the desired duration. Ensure your memory cards have ample space, and monitor battery life throughout the shoot.
Environmental conditions can pose challenges. Use weather-resistant housings or enclosures to protect your equipment from elements like rain, wind, or dust. Additionally, consider the lighting conditions—dawn and dusk scenes may require manual adjustments or supplemental lighting to maintain consistency. Regularly check the camera's viewfinder or live view monitor to confirm framing remains accurate during the sequence.
Implementing Advanced Interval Control for Seamless Sequences
To elevate the quality of your time lapse recordings, precise interval management is essential. Variations in scene movement and speed necessitate carefully calibrated intervals between shots. Typically, dynamic scenes—like traffic flow or crowds—benefit from shorter intervals, often between 1 to 5 seconds, capturing rapid changes smoothly. For more gradual transformations, such as building construction or sunsets, longer intervals of 10 seconds or more can effectively emphasize slower progress or lighting shifts.
Many professional cameras and dedicated intervalometers are equipped with sophisticated timing settings, allowing you to customize interval duration and number of shots with high accuracy. By scheduling shoots during specific times of day, you can also incorporate natural lighting variations into your sequence, enhancing visual interest. For instance, capturing a full day cycle involves programming intervals that span hours, while ensuring battery life and storage are sufficient.
Ensuring Consistent Exposure for Cohesive Footage
Maintaining consistent exposure settings throughout your time lapse sequence is fundamental to achieving a professional look. Auto exposure modes can cause fluctuations in brightness, resulting in flickering and distracting changes in light levels. To prevent this, switch your camera to manual mode and lock in ISO, aperture, and shutter speed before starting the shoot.
In scenes with fluctuating lighting conditions, such as sunrise or sunset, consider using ND filters to control brightness levels without altering exposure settings. White balance should also be locked at a fixed setting to avoid color shifts caused by automatic adjustments over time.
- Establish a stable camera platform—use tripods or gimbals to ensure minimal movement.
- Regularly monitor your camera’s view to confirm framing remains consistent.
- Use interval timers and remote controls to avoid physical interference during shooting.
Implementing Lighting and Environmental Controls
Ambient factors can significantly affect image consistency. When shooting outdoors, wind, rain, or sudden changes in weather may disrupt your sequence. Employ weather-resistant enclosures or protective covers to safeguard your equipment, especially in variable climates.
Lighting conditions are equally critical. Uniform illumination ensures seamless transitions between frames. During dawn or dusk, supplemental lighting or reflectors can be used to supplement natural light, maintaining consistency. If the scene involves moving clouds or shifting shadows, adjusting camera settings tactically or rescheduling shoots can mitigate unwanted variations.
Maximizing Storage and Power Management
Extended time lapse projects require meticulous planning regarding memory and power consumption. Use high-capacity SD cards or SSDs designed for continuous recording, ensuring ample space for all images.
Power sources must be reliable to prevent interruptions. External batteries, solar panels, or AC adapters facilitate prolonged shoots, especially in remote locations. Regular checks are crucial to confirm that power levels remain sufficient, and backup batteries are recommended to avoid data loss.
Organizing stored data systematically simplifies post-production workflows. Labeling sequences and keeping detailed logs about shooting conditions aid in both editing and troubleshooting quality issues.
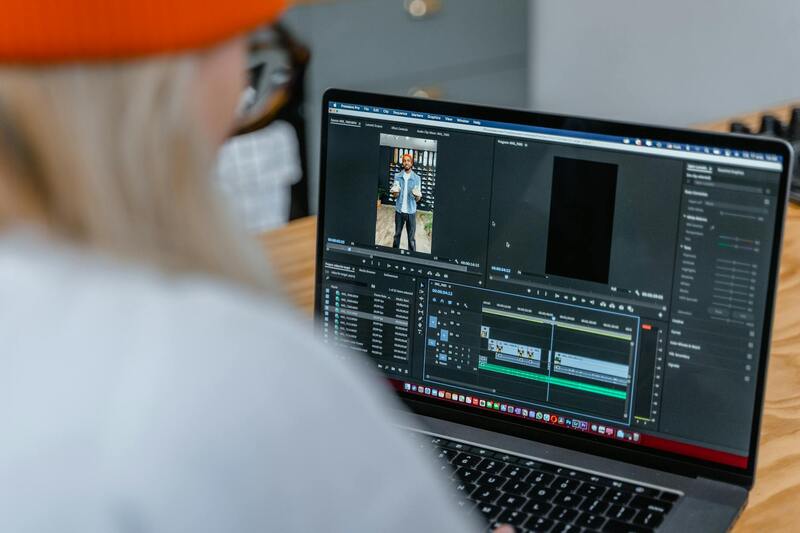
Optimizing Post-Processing for Superior Time Lapse Results
Following the successful capture of your time lapse sequence, the crucial stage involves post-processing to transform raw images into a fluid, compelling video. This phase demands precise attention to detail and a thorough understanding of editing software capabilities to ensure your final product meets professional standards. A key aspect of post-processing is stability correction. Even minor camera movements during shooting can cause jitter in the sequence, detracting from the overall quality. Many editing programs offer stabilization features that analyze the frames and compensate for these shifts, resulting in a smoother viewing experience.
Another vital element is color correction and grading. Adjusting exposure, contrast, and white balance ensures a consistent look throughout the sequence, especially when shots are taken in varying lighting conditions. Color grading can also be used creatively to evoke specific moods or atmospheres, aligning the footage with your project's narrative intent.
Frame rate selection influences the final viewing experience. Commonly, time lapse videos are rendered at 24 or 30 frames per second. Increasing the frame rate provides a smoother motion, but it also demands higher computational power and storage. Applying appropriate scaling and interpolation techniques can help bridge differences in frame rates from original footage to the target display format.
Additionally, consider using special effects or overlays to enhance storytelling. Text annotations, time stamps, or subtle visual effects can provide context or emphasize key moments within the sequence. For large projects, organizing your assets—such as individual frames, logs, and project files—is essential for efficient workflow management.
Sound design, although optional in many time lapse projects, can complement the visuals if applicable. Incorporating background music or ambient sounds can elevate the emotional impact, making the final video more engaging for viewers.
Finally, exporting settings are critical for maintaining quality. Selecting the appropriate codec, resolution, and compression parameters ensures your video looks crisp when viewed on different devices or platforms. High-bitrate exports preserve detail, especially for sequences featuring intricate textures or fast-moving elements, thereby reinforcing the professional presentation of your Miami-based project.
Methods for Recording Time Lapse Footage
Capturing compelling time lapse videos requires meticulous planning and the use of consistent, reliable methods. Wave of advancements in camera technology has broadened the spectrum of available techniques, each suited to different scenarios and desired outcomes.
1. Intervalometers and External Triggers
One of the most widespread methods involves utilizing intervalometers—dedicated devices that trigger the camera to capture images at set intervals. Many modern cameras have built-in interval shooting modes, but external intervalometers offer greater control and flexibility. By setting precise intervals, operators can synchronize shots with specific events or pacing, crucial for sequences like sunrise, traffic flow, or construction projects.
2. Smartphone Applications and DIY Solutions
For smaller projects or initial experimentation, smartphone apps designed for time lapse photography can be highly effective. These apps allow users to control exposure, interval, and focus with minimal equipment. For more advanced needs, DIY solutions involving microcontrollers like Arduino or Raspberry Pi can automate camera controls, facilitating complex or long-duration shoots where traditional tools may fall short.
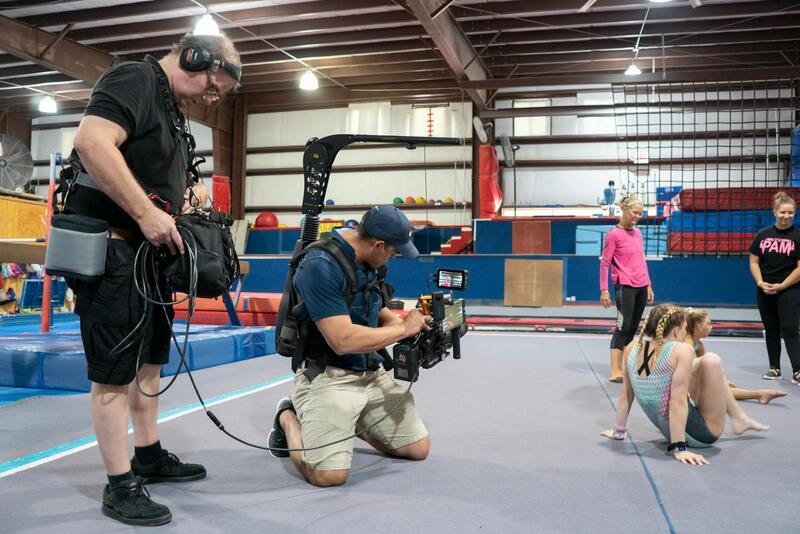
3. Use of Motorized Slider Systems
Integrating motorized slider systems enhances the creative potential of time lapse recordings. These systems enable smooth camera movements—such as pans, tilts, or slides—over the duration of the sequence. When combined with consistent interval shooting, they produce dynamic visuals with professional polish. Proper calibration and synchronized control are essential to avoid jarring motions and ensure seamless transitions.
4. Remote and Wireless Shooting Devices
Wireless cameras and remote control systems facilitate time lapse recording in hard-to-reach or hazardous environments. These methods provide real-time control and monitoring, reducing the need for physical presence during long shoots. Wireless interval shooting can be coordinated via mobile apps or dedicated remote units, allowing for adjustments mid-sequence if needed.
Choosing the Appropriate Method
Selection depends on project scope, environment, and desired visual effects. For routine captures, built-in camera features or simple intervalometers suffice. Complex projects or those requiring camera movement or remote operation benefit from motorized systems or wireless solutions. Combining these methods strategically results in higher-quality outputs that meet professional standards.
Best Practices for Reliable Recording
- Ensure consistent power supply, particularly for extended sessions, to prevent interruptions.
- Test equipment thoroughly prior to critical shoots, verifying interval settings and synchronization.
- Use stable tripods or mounts to maintain framing and prevent shake, which can detract from overall quality.
- Maintain optimal camera settings—like manual focus and exposure—to avoid flickering or focus shifts during the sequence.
- Document your setup process and configurations to facilitate troubleshooting and future replication.
By employing these techniques and tools thoughtfully, creators in Miami and beyond can produce time lapse recordings that elevate their projects, offering viewers visually stunning, professional-grade content.